
 English
 中文简体
 عربى


Home / News / Industry News / Commercial Ice Machine Drain Requirements: Slope, Pumps, and Line Sizing
Content
- 1 Why a Commercial Ice Machine Cannot Skip the Drain
- 2 Gravity Drain or Drain Pump? Start With the Building
- 3 The Numbers That Matter: Slope, Diameter and Air Gap
- 4 Plan for Two or Three Separate Drains
- 5 Where Installations Usually Go Wrong
- 6 Choosing a Machine That Fits Your Drain Situation
- 7 Keeping the Drain Line Healthy After Handover
- 8 A Quick Pre-Installation Checklist
Nine times out of ten, when someone calls us about water pooling under a newly installed ice machine, the machine itself is fine. The drain is not. Drainage is the least glamorous part of a commercial ice machine installation, and it is also the part that quietly decides whether the next five years go smoothly. We have been building ice machines since 2007, and we have seen the same handful of drainage problems come back again and again. Here is what actually matters.
Why a Commercial Ice Machine Cannot Skip the Drain
An ice machine is, functionally, a machine that moves water around. Some of that water becomes ice, and some of it has to leave. There are three sources you need to plan for: melt water dripping from the ice you have already made, the flush water the machine uses during each harvest cycle, and condenser water if you have chosen a water-cooled unit.
Skip or undersize the drain and the consequences are cumulative. Standing water in the bin turns into slime within days, the evaporator and bin liner start to corrode, ice quality drops, and a health inspection can end the conversation entirely. In most cases an improperly drained installation also voids the warranty, because the failure it causes is classed as an installation fault rather than a manufacturing one.
Gravity Drain or Drain Pump? Start With the Building
This decision is usually made by the building, not by the machine. If there is a floor drain below the ice machine and within a sensible horizontal run, gravity is almost always the better answer. If the machine sits in a basement, a kiosk, a converted counter or an island bar with no floor drain nearby, a drain pump is the practical route.
| Point to compare | Gravity drain | Drain pump |
|---|---|---|
| How water leaves | Falls by slope into an indirect waste point | Collected in a reservoir and pushed upward |
| Typical route | Continuous downhill run, no dips or traps | Short lift to a higher drain, then gravity onward |
| Works best when | A floor drain or standpipe sits below the outlet | No drain exists below the machine, or the run is too long |
| Install effort | Low cost, but routing must be planned early | Higher cost, plus an electrical supply and lift height check |
| Maintenance focus | Cleaning and keeping the slope intact | Strainer cleaning, float switch checks, pump noise |
| Main risk | Backfall or sagging hose causes standing water | A stalled pump floods the bin area |
A pump is not an upgrade over gravity; it is a workaround. Treat it that way when you specify one, and check its rated lift against the real height you need, not the height you hope for.
The Numbers That Matter: Slope, Diameter and Air Gap
Every manufacturer publishes its own figures, and your local plumbing code overrides all of them, so treat the following as the shape of the answer rather than a substitute for the manual.
Slope
- Gravity lines need a continuous fall, commonly around 1/4 inch per foot, and they must never run uphill at any point.
- Support the hose or pipe every metre or so; a single sag creates a trap that holds water and grows biofilm.
- Keep the run as short and as straight as the layout allows, with gentle bends rather than tight elbows.
Diameter and material
- Rigid PVC or a reinforced hose holds its shape far better than soft corrugated tubing, which flattens and sags.
- Do not reduce the outlet size to make a tight turn; a restricted line backs up at exactly the wrong moment.
- Insulate any drain section that passes through a cold space, or condensation will drip where you least expect it.
Air gap and indirect waste
- Drain into an indirect waste receptor with a visible air gap, never into a sealed connection, so waste water can never siphon back into the machine.
- Keep the drain away from grease lines and from any line carrying hot water or steam.
Plan for Two or Three Separate Drains
Many commercial machines do not have a single drain point. Depending on whether the condenser is air-cooled or water-cooled, and whether the unit has a reservoir or ice-and-water dispenser, you may be dealing with:
- An ice melt drain from the storage bin or dispenser trough.
- A condenser water drain, present only on water-cooled models.
- A reservoir or overflow drain on machines that hold and recirculate water.
Keep these separate wherever the manual calls for it. Combining them invites backflow between circuits, confuses the next technician who opens the panel, and in some cases destabilises the harvest cycle. If you are still deciding between cooling types, our guide to air-cooled versus water-cooled machines explains how that choice changes the plumbing you need.
Where Installations Usually Go Wrong
- The line is run before the machine is positioned, then forced into an uphill section to reach the outlet.
- A pump is installed without checking the actual vertical lift the site demands.
- Soft tubing is used across a long span with no support, and it sags within a season.
- The drain is hard-piped with no air gap because it looks neater.
- Two circuits are joined into one line to save a hole in the floor.
- Nobody leaves access to the strainer, so routine cleaning becomes a dismantling job.
Choosing a Machine That Fits Your Drain Situation
Capacity and drain design travel together. A 35 kg/24h built-in unit tucked under a hotel corridor counter has very different plumbing realities from a 380 kg/24h workhorse feeding a production kitchen, and the honest advice is often to pick the machine that matches the room rather than the room that matches the brochure.
For a mid-sized restaurant or beverage operation with a floor drain already in place, a gravity-fed split cube machine in the 135 kg/24h class is a comfortable fit — enough output for peak service without demanding a pump or an oversized line.
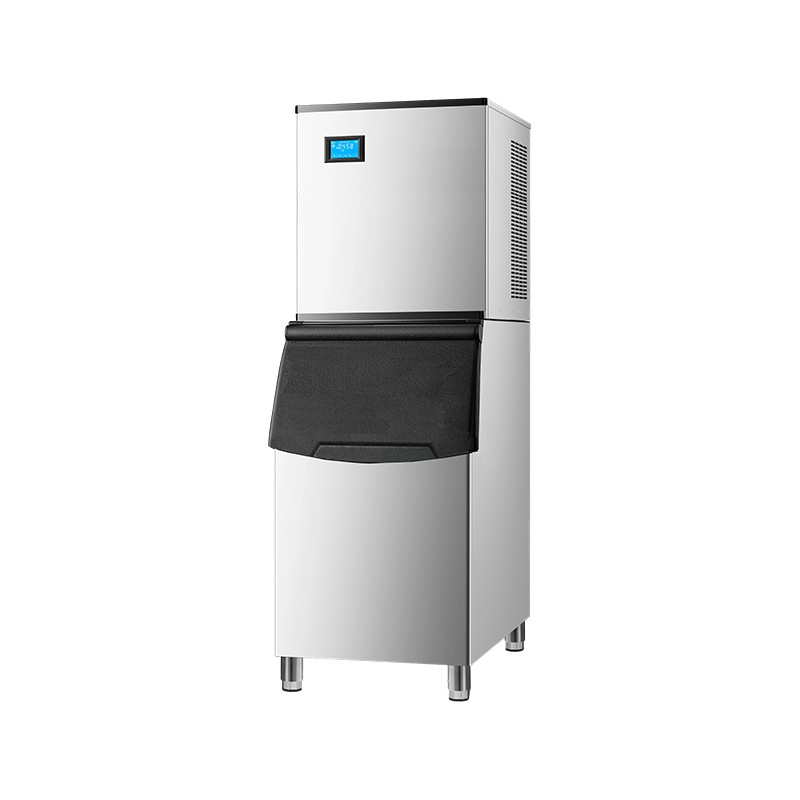 SKF-M300F 135 kg/24h Split Cube Ice MachineA gravity-fed stainless steel cube machine for mid-sized foodservice operations, offering 135 kg/24h nominal output and R290 refrigerant with removable door access.View Product →
Where volume climbs into the high hundreds of kilos per day, drainage stops being a detail. At that scale you want a dedicated melt drain, generous line diameter and a service gap behind the unit, because nobody wants to pull a heavy cabinet away from the wall to clear a blockage.
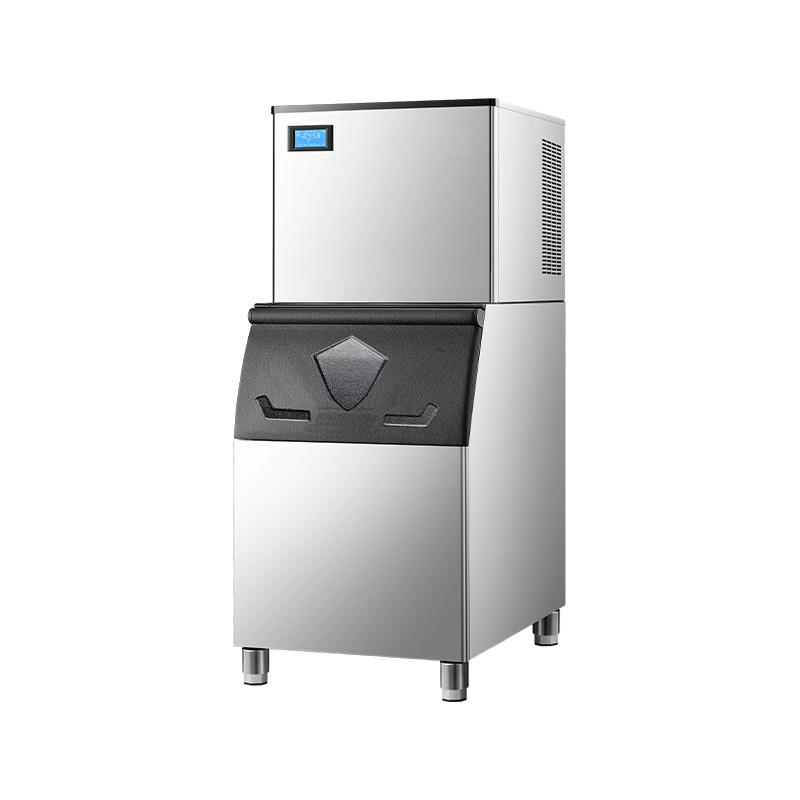 SKF-MB800F 380 kg/24h Multifunctional Cube Ice MakerA high-capacity cube ice maker with mobile control, listed at 380 kg/24h and fitted with R290 refrigerant, cyclopentane insulation and a removable door.View Product →
At the other end, built-in and undercounter machines are frequently installed where no floor drain exists at all. That is exactly the case for a compact pump-assisted setup, or for routing the drain to a nearby indirect waste before the cabinetry is closed up.
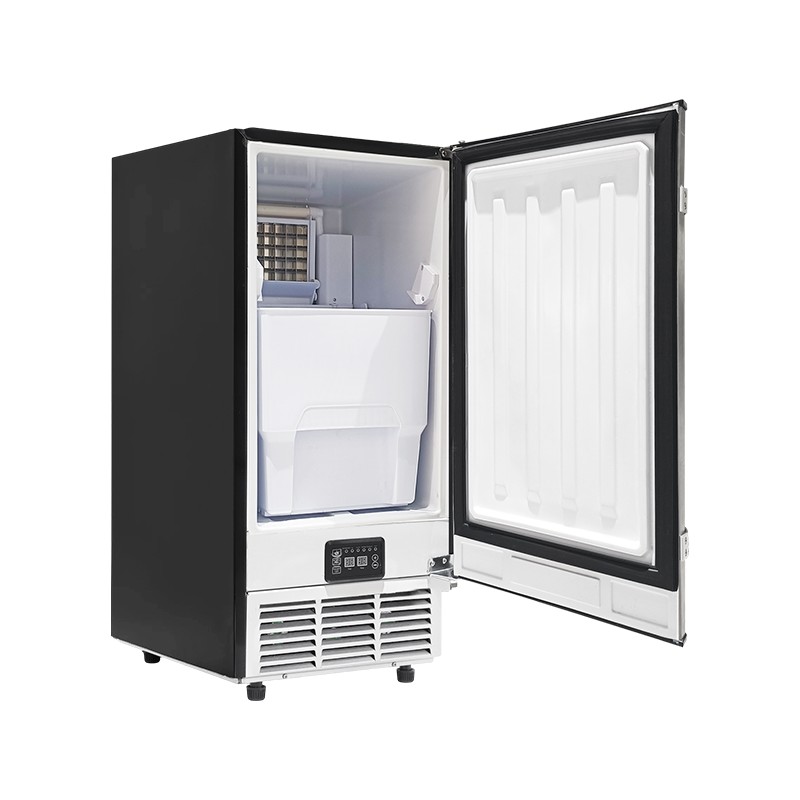 SKF-QR80F Compact Built-In Undercounter Ice MachineA space-saving undercounter model rated at 30–35 kg/day with 10 kg storage, a pull-out ice basket and reversible door for compact installations.View Product →
Keeping the Drain Line Healthy After Handover
Drainage is not a fit-and-forget item. Warm, sugary or mineral-heavy water leaves a film inside the line that gradually narrows it, and the first symptom is usually a slow drain that nobody notices until it overflows. Build the drain into the routine: flush it, check the air gap is clear, confirm the pump strainer is clean, and look for any new sag in the hose after the machine has been moved for servicing.
We put the full sequence in our step-by-step cleaning guide for operators, which covers both the water circuit and the drainage side in the order we would do it ourselves.
A Quick Pre-Installation Checklist
- Confirm where the water actually goes: floor drain, standpipe, or pump to a higher receptor.
- Measure the fall and the horizontal run before the machine is delivered.
- Check the outlet size against the manual and refuse to reduce it.
- Confirm an air gap will exist at the discharge point.
- Count the drains the model needs, not the drains you have drilled for.
- Leave service access to the strainer, pump and rear panel.
- Note the water hardness and plan filtration accordingly.
Drain requirements rarely make it onto the shortlist when someone is choosing an ice machine, but they decide how the next few years feel. Get the fall right, keep the circuits separate, leave an air gap and give yourself access, and the machine will spend its life making ice instead of making puddles. If you are unsure how a particular model will drain in your space, send us the layout — we would rather talk it through before delivery than after.